Python/Python ETC
Image를 ASCII Character art로 변환하기 in Python
CosmosProject
2021. 4. 1. 03:06
728x90
반응형
image를 ASCII character를 이용한 그림으로 변환할 수 있습니다.
변환할 image인 apple.png는 다음과 같습니다.
apple 로고를 변환해볼게요.
import PIL.Image


# list of ascii characters used when convert image to ascii text
list_ascii_chars = ['@', '#', 'S', '%', '?', '*', '+', ';', ':', ',', '.']

# resize image according to a new width
def resize_image(pil_obj_image, new_width):
    width, height = pil_obj_image.size # obj_image = image object read using PIL.Image.open method
    ratio = height / width
    new_height = int(new_width * ratio) # you can modify height of resized-image here. [ e.g. new_height = int(new_width * ratio * 0.5) ]
    resized_image = pil_obj_image.resize((new_width, new_height))

    return resized_image


# convert each pixel in image to grayscale pixel
def grayify(image):
    grayscale_image = image.convert('L')

    return grayscale_image


# convert each pixel to ASCII character
def convert_pixels_to_ascii(pil_obj_image):
    pixels = pil_obj_image.getdata()
    str_ascii_img = ''.join([list_ascii_chars[pixel//25] for pixel in pixels]) # return list of ASCII character for each pixel

    return str_ascii_img


def main():
    # 200 means the number of pixels in one line, which is the same meaning of the number of ASCII character in one line.
    new_width = 200
    path = 'img/apple.png'


    try:
        image = PIL.Image.open(path)
    except:
        print(path, "<- This is invalid path.")


    # convert image to ASCII string
    raw_ascii_image = convert_pixels_to_ascii(grayify(resize_image(image, new_width)))

    pixel_count = len(raw_ascii_image)
    ascii_image = '\n'.join(raw_ascii_image[i:(i+new_width)] for i in range(0, pixel_count, new_width)) # cutting raw ASCII image text to 200, which is 'new_width'

    # print result
    print(ascii_image)

    # save result(ASCII image) to 'img/apple.txt'
    with open('img/apple.txt', 'w') as f:
        f.write(ascii_image)


if __name__ == '__main__':
    main()
코드는 위와 같습니다.
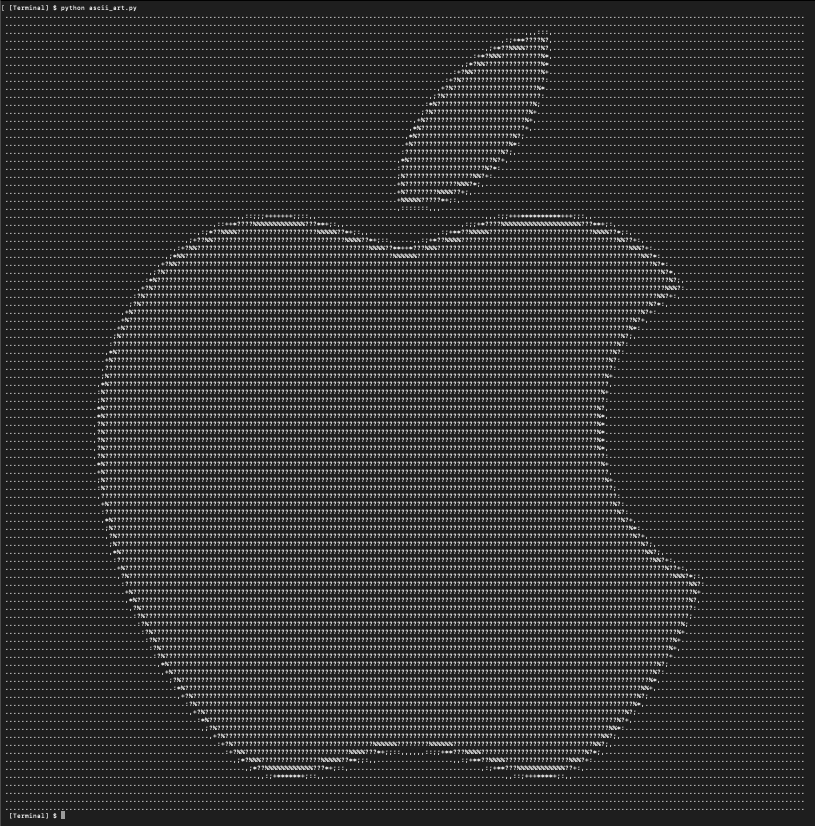
위 코드를 터미널에서 실행한 결과는 아래 이미지와 같습니다.
결과가 너무 커서 터미널 view를 축소했습니다.

apple logo가 나오죠?
다만 좀 어색한건 가로세로 비율이 안맞는 것 같습니다.
세로가 좀 더 긴것같죠.
따라서 가로세로 비율을 조절해주겠습니다.
가로 세로 비율은
def resize_image(pil_obj_image, new_width):
    width, height = pil_obj_image.size # obj_image = image object read using PIL.Image.open method
    ratio = height / width
    new_height = int(new_width * ratio * 0.5) # you can modify height of resized-image here. [ e.g. new_height = int(new_width * ratio * 0.5) ]
    resized_image = pil_obj_image.resize((new_width, new_height))

    return resized_image
위 코드의 new_height 변수에 할당되는 부분을 조절하면 됩니다.
이전 결과에서 세로가 너무 길었으니 new_height 계산식에 0.5를 곱하여 세로길이를 줄여주겠습니다.
다시 터미널에서 실행헀는데 이젠 좀 가로 세로 길이 비율이 얼추 비슷해진 것 같죠.
위 결과를 보면 잘 나온 것 같지만 사실 ASCII 문자가 눈에 들어옵니다.
위 이미지는 간단한 이미지라 상관없지만 더 복잡한 이미지를 ASCII art로 변환하면 위처럼 ASCII 문자가 그대로 보이는 것은 이미지를 전체적으로 어색하게 보이게 만들며 해당 ASCII art가 원본 이미지와 더 동떨어진 느낌을 줄겁니다.
이런 경우 해결책은 위 코드에서 new_width를 늘려 ASCII art output의 가로 세로 길이를 늘리는 겁니다.
이렇게 하면 output의 결과는 더 커져서 화면을 축소하여 봐야하는 단점이 있지만 더 원본에 가까운 느낌을 낼 수 있습니다.
728x90
반응형