PIL을 이용하여 이미지 위에 글씨 쓰기
PIL module을 이용해서 이미지 위에 텍스트를 넣어봅시다.
단계는 다음과 같습니다.
1. 배경이 검은 색의 이미지를 생성한 후
2. 이 이미지를 불러와 흰색의 글씨를 쓴다.
코드를 봅시다.
import numpy as np
import cv2
from PIL import Image, ImageDraw

img_file = 'img_black.png'
img_file_with_text = 'img_black_with_text.png'


# create black img
arr_black = np.zeros(shape=(1080, 1080, 3), dtype=int)
cv2.imwrite(img_file, arr_black)  # 검정색 image 생성


# write letter on img
cls_img = Image.open(img_file)  # image file을 열어서 img class 생성
cls_draw = ImageDraw.Draw(cls_img)  # image class를 이용해 draw 객체 생성


text_to_write = '''
This is test text.
To show how it looks like.
'''
cls_draw.text(xy=(500.3, 200.8),  # text 위치
              text=text_to_write,  # text
              fill=(255, 255, 255),  # text color (RGB)
              font_size=50,  # text size
              align='center',  # text 정렬
              anchor='mm',  # text 정렬 기준점 # https://pillow.readthedocs.io/en/stable/handbook/text-anchors.html#text-anchors
              spacing=10,  # text의 줄간 간격
              stroke_width=1,  # text 윤곽선 두께
              stroke_fill='blue'  # text 윤곽선 색상
              )
cls_img.save(img_file_with_text)
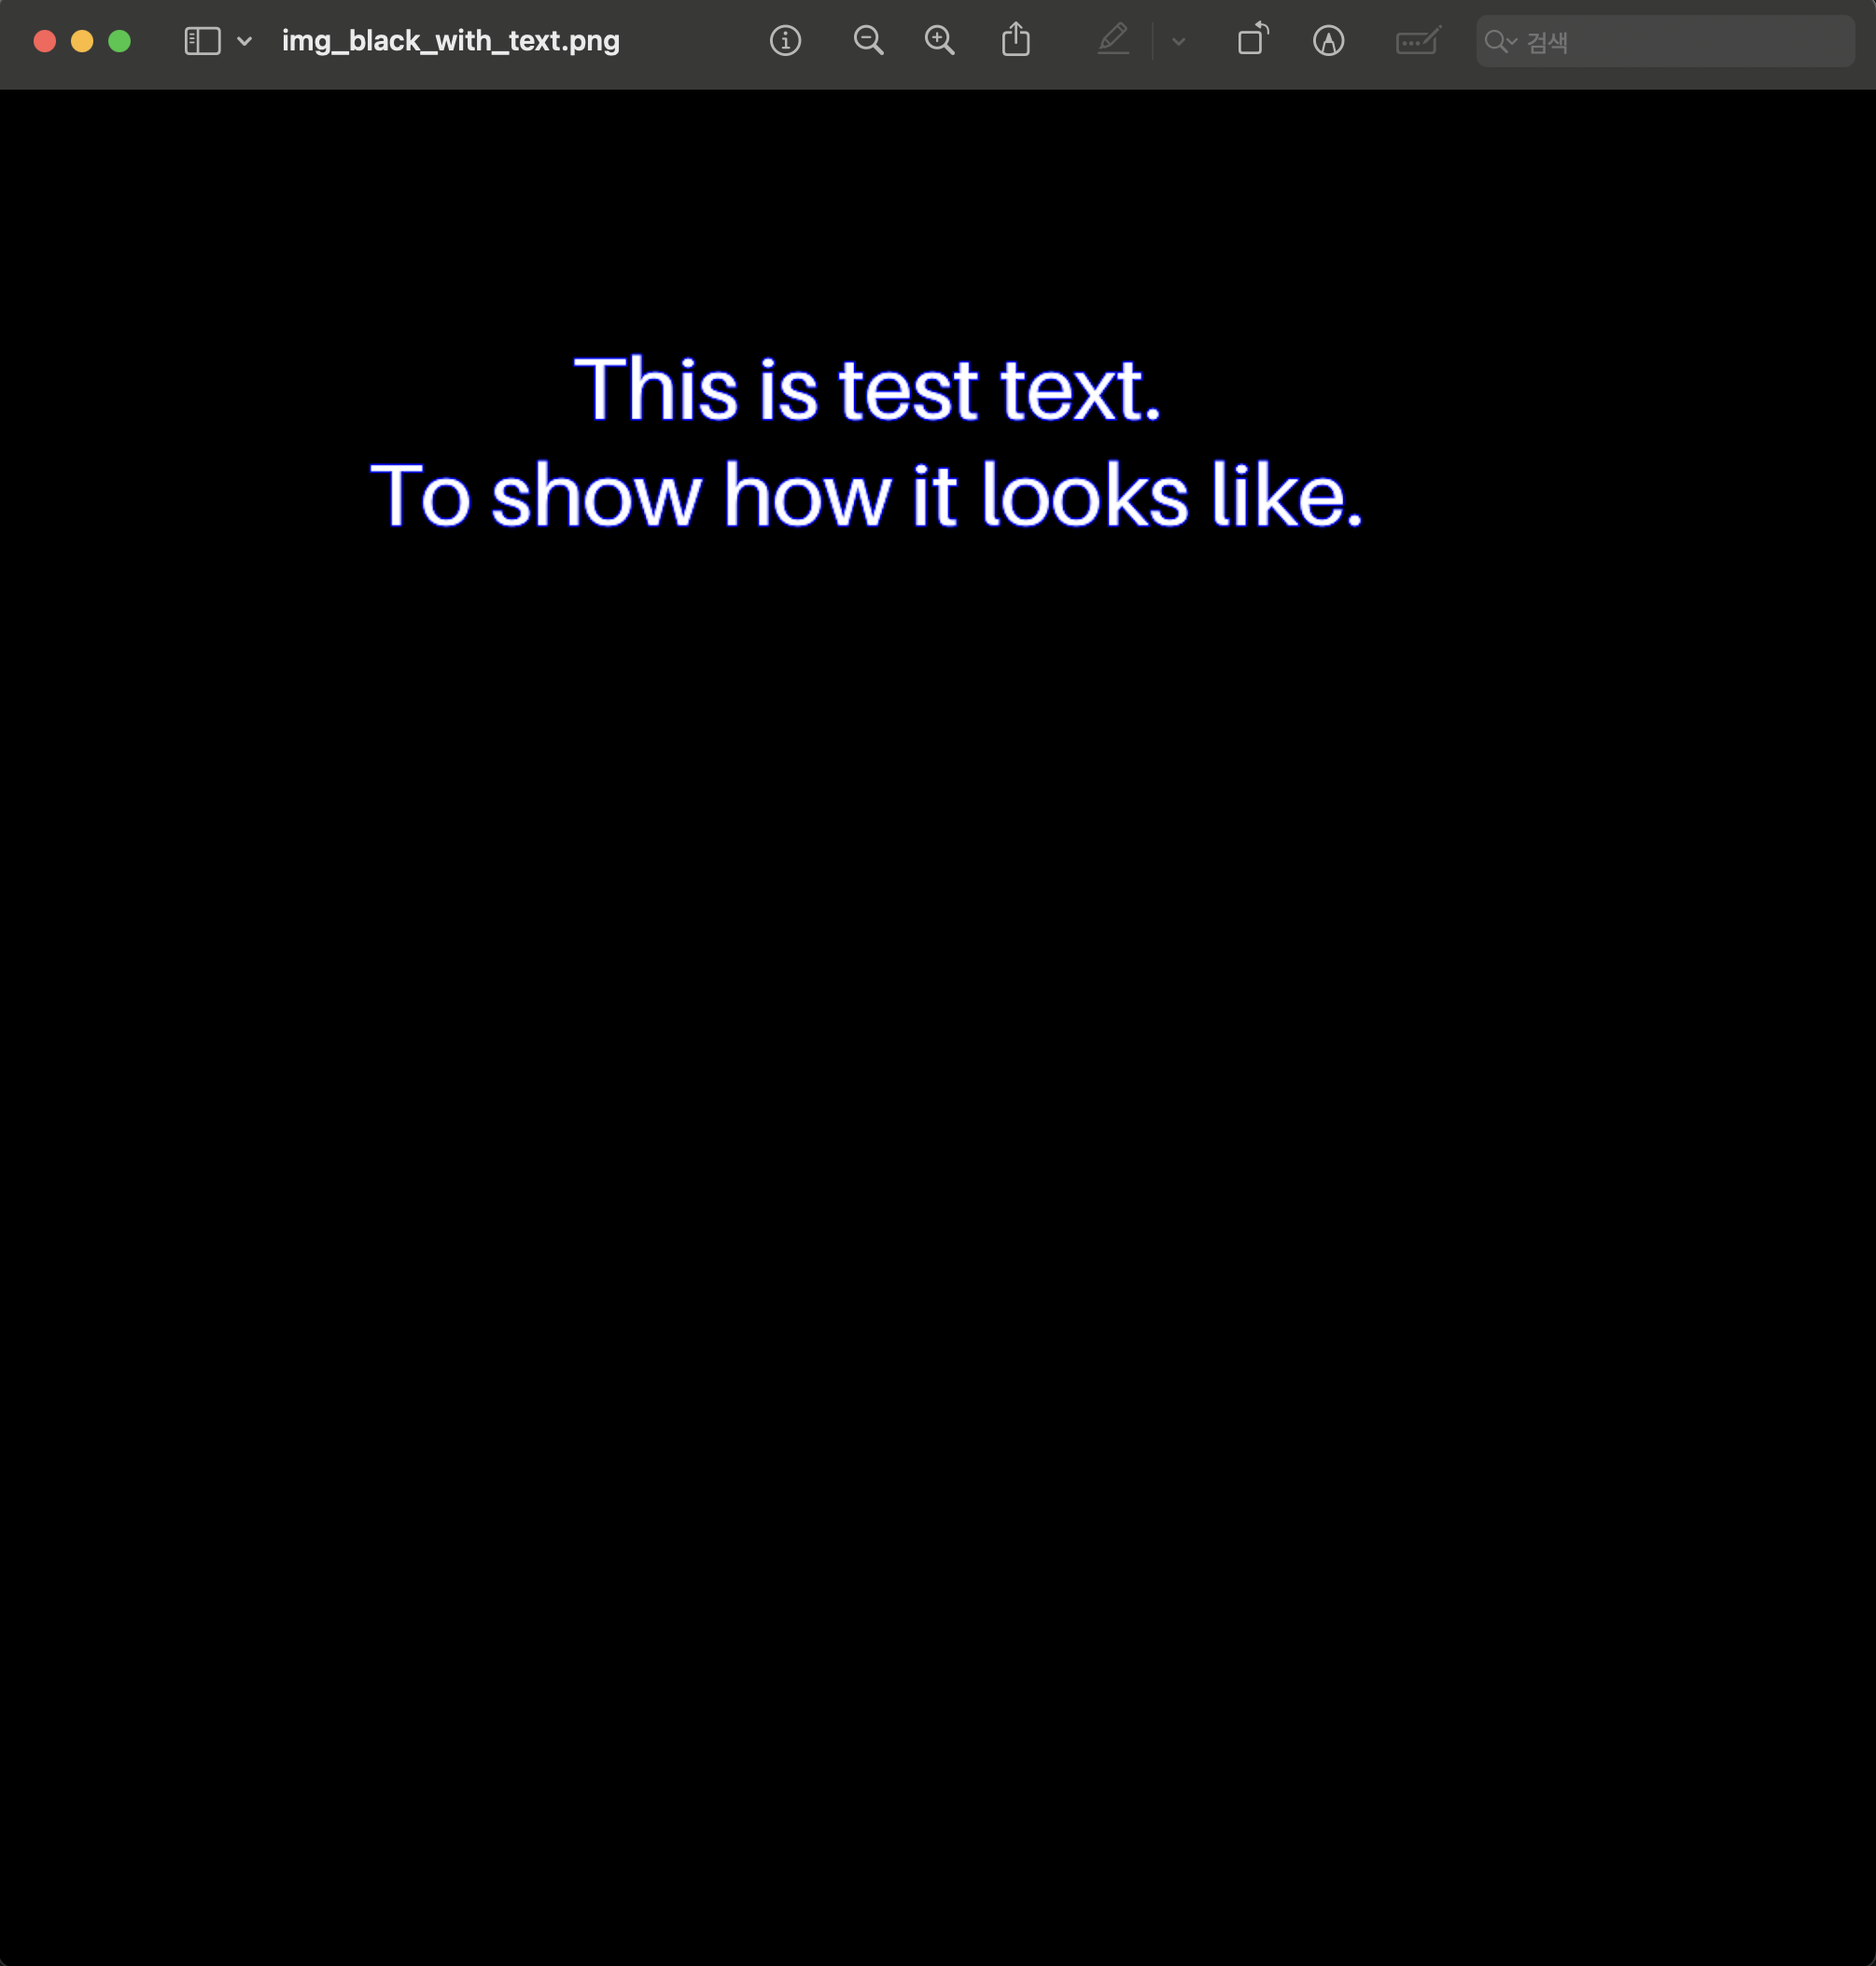
위 코드를 실행하면 아래와 같은 image가 생성됩니다.
이제 코드를 부분부분 살펴봅시다.
# create black img
arr_black = np.zeros(shape=(1080, 1080, 3), dtype=int)
print(arr_black.shape)
cv2.imwrite(img_file, arr_black)  # 검정색 image 생성
일단 코드에 위같이 검은색 이미지를 생성하는 부분이 있습니다.
이 부분은 OpenCV를 사용하는 내용이므로 관련된 내용은 아래 링크에 설명되어 있습니다.
https://cosmosproject.tistory.com/817
Python opencv : opencv로 간단한 색상 이미지 생성하기
opencv는 이미지 처리 기능, 머신러닝 등의 기능을 제공하는 툴 입니다. opencv를 이용해 간단하게 원하는 크기의 원하는 색상의 이미지를 만들어봅시다. 이를 위해선 numpy array가 필요합니다. import n
cosmosproject.tistory.com
# write letter on img
cls_img = Image.open(img_file)  # image file을 열어서 img class 생성
cls_draw = ImageDraw.Draw(cls_img)  # image class를 이용해 draw 객체 생성
PIL library를 이용하여 어떤 image에 변경을 주려면 위처럼 Image 객체를 생성해야 합니다.
그리고 우리는 image에 text를 쓸 것이므로 image에 뭔가를 그릴 때 사용되는 ImageDraw.Draw 객체를 생성합니다.
text_to_write = '''
This is test text.
To show how it looks like.
'''
cls_draw.text(xy=(500.3, 200.8),  # text 위치 = (horizontal, vertial)
              text=text_to_write,  # text
              fill=(255, 255, 255),  # text color (RGB)
              font_size=50,  # text size
              align='center',  # text 정렬
              anchor='mm',  # text 정렬 기준점
              spacing=10,  # text의 줄간 간격
              stroke_width=1,  # text 윤곽선 두께
              stroke_fill='blue'  # text 윤곽선 색상
              )
cls_img.save(img_file_with_text)
그리고 이제 위 부분에서 text를 image에 그립니다.
text() method를 이용하여 text를 그릴 수 있습니다.
text() method에는 parameter가 꽤 많습니다.
각 parameter의 의미는 위 코드에서 comment로 적어놔서 적당히 의미 파악이 되실테지만 몇 가지 parameter에 대해선 설명이 필요할 것 같습니다.
- fill=(255, 255, 255)
fill은 text color를 결정한다고 했습니다. 이는 RGB로 지정할 수 있습니다.
- align='center'
align은 텍스트를 어떻게 정렬하는지를 의미합니다.
결과 이미지를 보면 2줄의 텍스트가 있는데
이 2 줄이 각각 가운데 정렬된 것을 볼 수 있습니다.
이를 이해하기 위해선
텍스트를 둘러싼 가상의 사각형이 있다고 생각하고 이 사각형 안에서 텍스트를 정렬하는 것이 align 옵션이라고 생각하면 편합니다.
align = {'left', 'center', 'right'}
align 옵션으로는 위처럼 3개의 옵션중 하나를 사용할 수 있습니다.
- anchor='mm'
anchor는 텍스트를 이미지에 위치시킬 때 텍스트의 어느 지점을 기준으로 위치시킬건지를 의미합니다.
텍스트를 감싸는 가상의 사각형이 있다고 생각해봅시다.
이 사각형을 이미지 위에 위치시킬 때 xy 옵션에 전달된 좌표를 사용합니다.
근데 이 xy 좌표를 적용할 사각형의 정확한 지점이 필요합니다.
사각형의 왼쪽 상단 꼭지점을 기준으로 위치시킬 수도 있고,
사각형의 정 중앙을 기준으로 위치시킬 수도 있습니다.
anchor 옵션은 이를 의미합니다.
anchor 옵션은 총 두 글자의 symbol로 구성됩니다.
위 코드에서 mm이라고 적혀있는데
첫 번째 m은 Horizontal 방향의 기준이며
두 번째 m은 Vertical 방향의 기준입니다.
- Horizontal anchor
l (= left) -> 가로 방향에서 가장 왼쪽 지점을 anchor로 합니다.
m (= middle) -> 가로 방향에서 가운데 지점을 anchor로 합니다.
r (= right) -> 가로 방향에서 가장 오른쪽 지점을 anchor로 합니다.
s (= baseline) -> 가로 방향에 대해 텍스트의 baseline에 맞춰서 anchor를 결정합니다.
- Vertial anchor
t (= top) -> 세로 방향에서 가장 위쪽 지점을 anchor로 합니다.
m (= middle) -> 세로 방향에서 가운데 지점을 anchor로 합니다.
s (= baseline) -> 세로 방향에 대해 텍스트의 baseline에 맞춰서 anchor를 결정합니다.
b (= bottom) -> 세로 방향에서 가장 아래 지점을 anchor로 합니다.
Horizontal anchor와 Vertical anchor symbol을 하나씩 합쳐서 anchor option으로 전달하면 됩니다.
anchor관련 자세한 내용은 아래 링크를 참고하면 됩니다.
https://pillow.readthedocs.io/en/stable/handbook/text-anchors.html#text-anchors
Text anchors
The anchor parameter determines the alignment of drawn text relative to the xy parameter. The default alignment is top left, specifically la(left-ascender) for horizontal text and lt(left-top) for ...
pillow.readthedocs.io
- font
위 코드에는 없지만 font 옵션도 존재합니다.
import numpy as np
import cv2
from PIL import Image, ImageDraw, ImageFont

img_file = 'img_black.png'
img_file_with_text = 'img_black_with_text.png'


# create black img
arr_black = np.zeros(shape=(1080, 1080, 3), dtype=int)
print(arr_black.shape)
cv2.imwrite(img_file, arr_black)  # 검정색 image 생성


# write letter on img
cls_img = Image.open(img_file)  # image file을 열어서 img class 생성
cls_draw = ImageDraw.Draw(cls_img)  # image class를 이용해 draw 객체 생성

# ttf(True Type Font) 파일을 읽어와서 Font 객체 생성
cls_font = ImageFont.truetype('my_font.ttf',  # ttf file
                              50  # font size
                              )


text_to_write = '''
가나다
abc
'''
cls_draw.text(xy=(500.3, 200.8),  # text 위치
              text=text_to_write,  # text
              fill=(255, 255, 255),  # text color (RGB)
              # font_size=1000,  # text size -> font 옵션 설정 시 font size는 Font 객체에서 설정
              align='center',  # text 정렬
              anchor='ms',  # text 정렬 기준점
              spacing=10,  # text의 줄간 간격
              stroke_width=1,  # text 윤곽선 두께
              stroke_fill='blue',  # text 윤곽선 색상
              font=cls_font  # 설정한 객체로 font 옵션 설정
              )
cls_img.save(img_file_with_text)
font를 적용시키려면 두 가지가 필요합니다.
1. ttf(True Type Font) 파일
2. Font 객체
ttf는 True Type Font의 약자로 간단하게 말하면 그냥 글씨체 정보를 담고있는 파일이라고 보시면 됩니다.
원하는 글씨체가 담긴 .ttf 파일을 먼저 구해야 합니다. (인터넷에 찾아보면 많습니다.)
# ttf(True Type Font) 파일을 읽어와서 Font 객체 생성
cls_font = ImageFont.truetype('my_font.ttf',  # ttf file
                              50  # font size
                              )
그리고 위처럼 PIL의 ImageFont를 이용해서 .ttf 파일을 읽어와 Font 객체를 생성합니다.
그리고 이렇게 생성한 객체를 text()의 font 옵션으로 전달하는 것이죠.
여기서 한 가지 주의해야할 점은 font 객체를 설정할 때 font size를 지정합니다.
위 예시에서는 50으로 지정했는데
이렇게 font class를 사용할 경우 text() method 자체의 font_size 옵션은 무시됩니다.
즉, font class에서 font size를 지정한 대로 글자의 크기가 정해진다는 의미입니다.
font가 필요한 이유는 여러 가지가 있는데
원하는 글씨체를 사용하기 위함도 있지만
어떤 언어를 image에 쓰려느냐에 따라 그 결과가 제대로 나오지 않을 수 있기 때문입니다.
PIL은 기본적으로 영어는 지원하지만 한글은 지원하지 않습니다.
만약 PIL에서 아무 설정 없이 한글을 image위에 쓰려고 하면 한글을 인식하지 못해서 엑스박스 모양으로 표시될 것입니다.
물론 한글을 지원하게 하는 다양한 방법이 있겠지만 제가 사용했던 방법 중 가장 좋은 방법은 원하는 한글 font의 .ttf 파일을 찾아서 font 옵션으로 지정해버리는 것인 것 같습니다.
ImageDraw 관련해서는 아래 링크에 더 자세한 내용이 있습니다.
https://pillow.readthedocs.io/en/stable/reference/ImageDraw.html
ImageDraw Module
The ImageDraw module provides simple 2D graphics for Image objects. You can use this module to create new images, annotate or retouch existing images, and to generate graphics on the fly for web us...
pillow.readthedocs.io